
First of all, this week I don't post any outfit post simply because I just stay at home everyday. My holiday is so boring here and I'm gonna return to Jakarta as soon as possible. I'll finish my school registration first and once everything's solved, I will stay in Jakarta.
Peterpan collar is trending nowadays, and I tried to make one last month but just have a chance to post it on my blog today. It's very easy to be made and these are the steps:
Materials :
1. A piece of paper
2. White felt
3. Pencil
4. Scissors
5. Hook
6. Glue
7. Needle and thread
8. Pearls (to decorate)
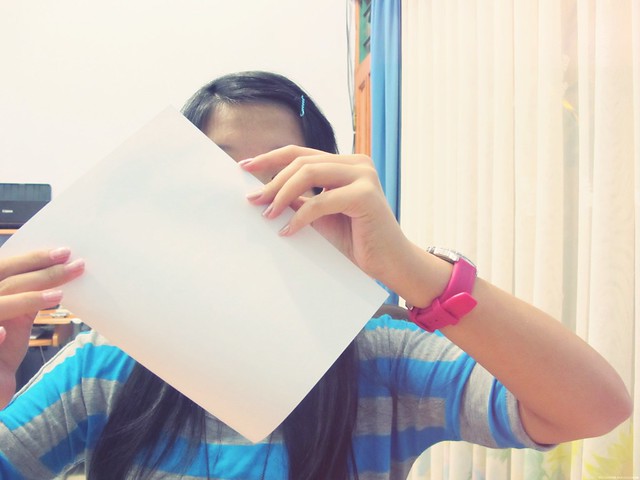
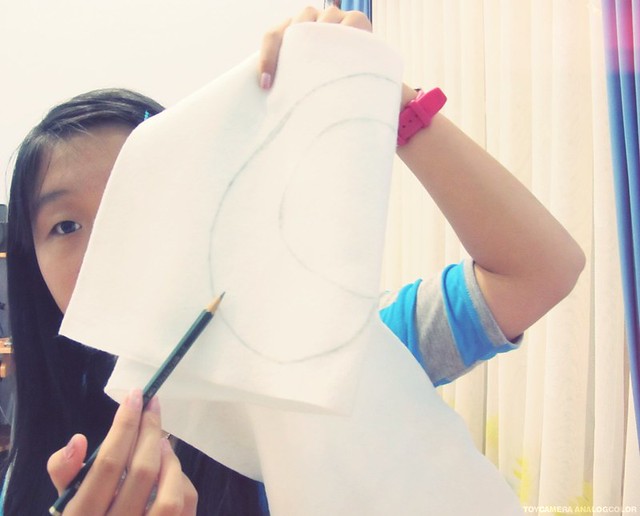
1. Fold the paper
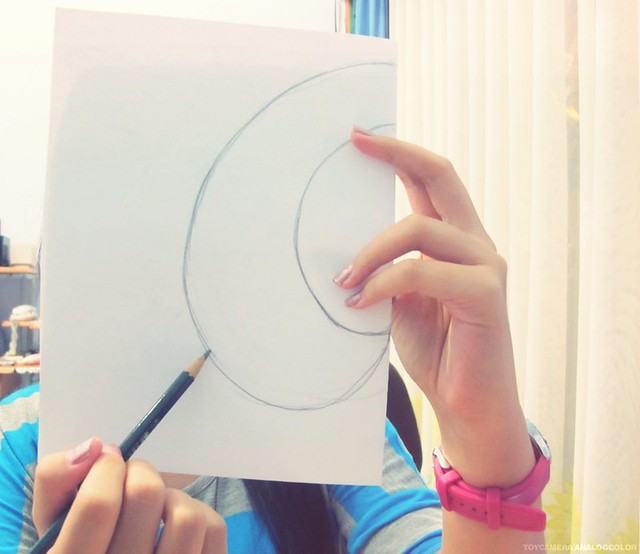
2. Draw the template on the folded side of the paper. (there's not particular measurement. just draw the size you want. Make sure the diameter of the neck part isn't too small)
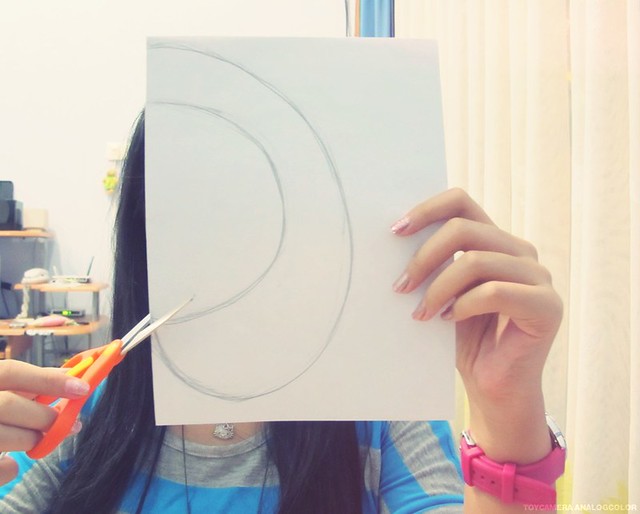
4. Cut it

5. It'll look like this . Before you make the real collar in felt, try the template and make sure whether it fits you or not. (I apologize for my round face)
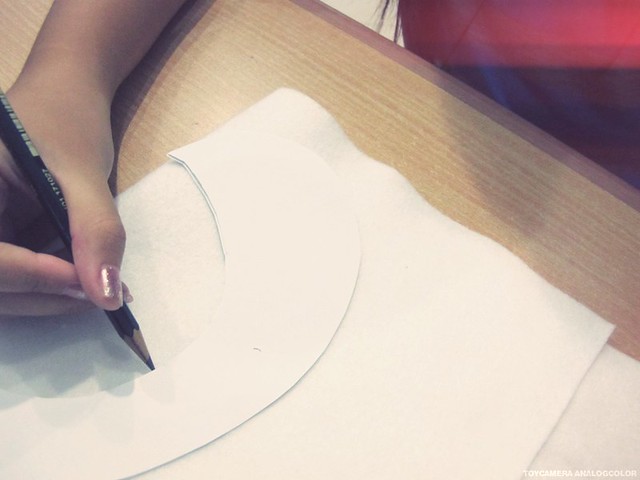
6. Draw the template on white felt. (fold the felt first exactly like what you did to the paper)
7. After you've done, cut it again
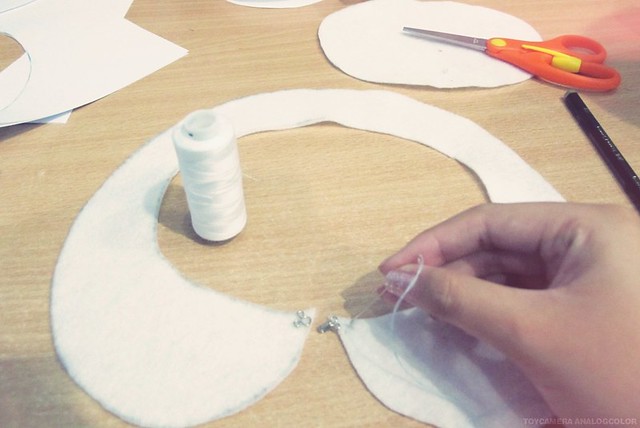
8. Sew the hook at the corner of the collar (sew the back side (the side that has the pencil line))
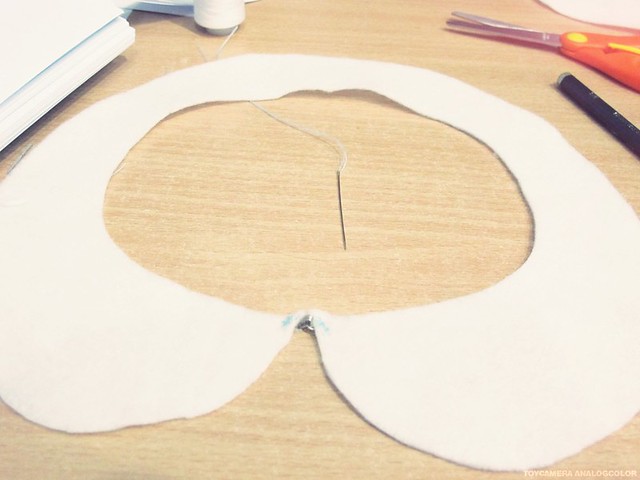
9. Ta-daaah! Now you've made a plain detachable peterpan collar
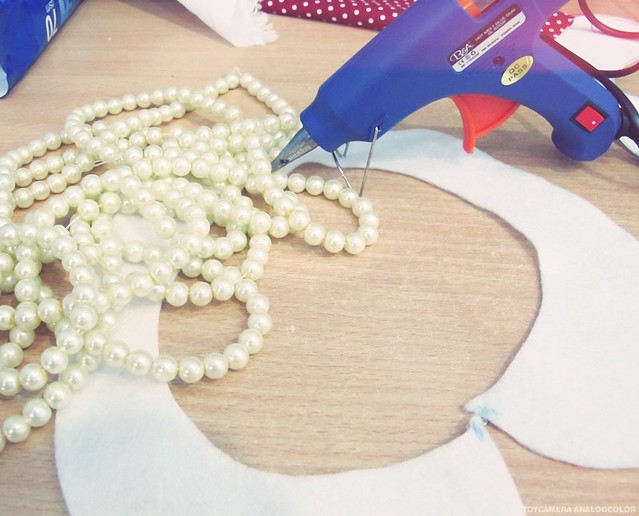
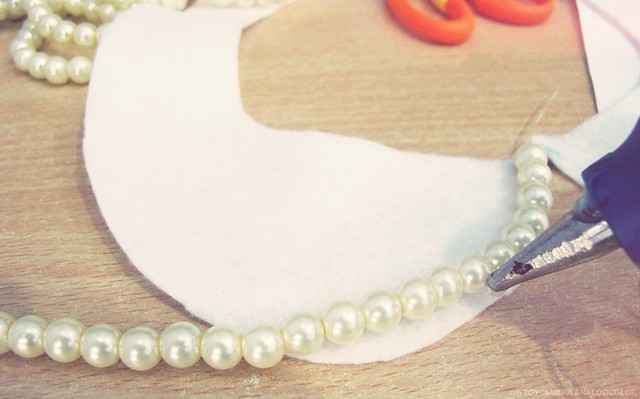
9. You may decorate the plain collar using pearls. This time I used pearl necklace because it's be more practical. It'd waste more time and glue ,and the collar will turn out messy if you glue the pearls one by one. There'd be lesser chance for the pearls to fall off too if you use pearl necklace. (I hope you get what I mean)
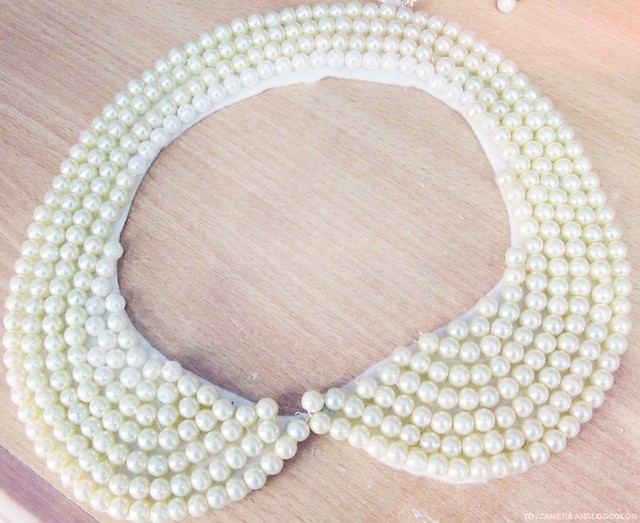
10. Here's the result. It's not really great but if you can't find any shop that sell detachable collar, you can make yourself one with low budget. Hope this tutorial is clear enough and useful for you. You may contact me through formspring if you have any question. I'll try my best to answer it :)

nice tutorial :)
ReplyDeleteWhat a cute collar!
ReplyDeletenice! :)) I'll do one too :)
ReplyDeleteloveandelegance.blogspot.com
love the collar! im going to make mine too!! :D
ReplyDeletewww.calitahin.blogspot.com
Wow, it's a cuteeee collar. I'l try to make it one, dear!
ReplyDeleteLove,
http://sarahrizqi.blogspot.com/
thanks for the tutorial ♥
ReplyDeleteclaireteressa.blogspot.com
nice tutorial. I hope I can try it next time. (:
ReplyDeletexoxo
kelimutu
thanks for the tutorial, gonna try it!
ReplyDeleteLove,
Pudding Monster
Thank you for the inspiration...i want try it !!!! :)
ReplyDeleteYou are so creative dear..^^
So cute! Thank you for the tutorial! X
ReplyDeletehttp://rosalindatj.blogspot.com
waa, ! <3 so creative ^.^
ReplyDeletedi majalah Girls bnyk loh tips2 diy gni ^^ ( emang sih itu mjlh cman bwt ampe 12 tahun doang -_- )
joan-milenia.blogspot.com
Thank you so much for this creative project! I definitely have to try it.
ReplyDeletefollowing, and looking forward to future posts!
xo,
Lilithfashion.blogspot.com
hoho~ i'll try make one..:3 thanks veren! ;)
ReplyDeletehttp://thedawngoddess.blogspot.com
super!! skorzystam z tego pomysłu :)
ReplyDeleteSO GREAT IDEAS!
ReplyDeleteReally great tutorial!>.<
ReplyDeletethank you <3
visit my blog
http://evelyntirza.blogpspot.com
Thanks for sharing! All this time I have been buying collars when they are easily DIY-able haha :)
ReplyDeleteomg!
ReplyDeletethat is so fanatstic!!
thank you soo much!!! ♥♥♥
lucu bgt collar nya :)
ReplyDeletenatzcracker
verennnnn, kamu pinter banget bikin DIY collar sendiri :)
ReplyDeletethanks for share yaaa!
good idea !
ReplyDeletethx for the information! <3
xoxo,
Rebecca
http://rebeccaclch.blogspot.com
niceeeee tutoriall!!
ReplyDeletejssicanovia
http://jssicanovia.blogspot.com/
really wonderful idea!! :) love it! definitely need to do this!!
ReplyDeletehttp://sarablahblah.blogspot.com xxx
Thanks for the tutorial! I already made one! <3
ReplyDeletehttp://allabout-e-and-c.blogspot.com/
nice steps, it turns out so pretty! will try it soon ;) xx
ReplyDeletehttp://mithakomala.blogspot.com/